Sunday, 11 September 2016

Nose Wheel

A major modification that I needed to add to the duck punt design was a drop-down nose-wheel to help with the number of times that I will have to get it out of the water to get around obstructions.

With August being taken up with a two week holiday in Madeira, and lots of social events, I've only just got back to the build...

Lots of thinking and refining has gone into this over the summer, but I've finally built and fitted the nose wheel. That, in turn, means that I can start work on decking the bow of the duck punt (post to follow).

The first part, which I did in late July, was to cut a large slot in the front of the bow to take a hardwood beam to support the nose wheel.

A Japanese pull saw was used
to cut a slot in the bow to take
the hardwood beam that would support
the drop-down nose-wheel.
(Bottom edge was cut with a sharp chisel).

The beam was then rebated to fit over the front bulkhead and the front of it was shaped to form a raised and extended pivot point for the nose wheel (the design of which was still 'up in the air') .

Wheel-supporting beam in place, though still far from sure
of the design of the drop-down nose wheel...

While I had the punt out in the open, I took the opportunity to clean it up a bit with the orbital sander, and to plane off (one of ) the top edges. Made quite a difference...

The design of the drop-down nose wheel was gradually being simplified and refined in my head over the summer break.

I decided to make the structure from solvent-welded 1.5 inch (38mm) PVC pipe, with a 10 inch (250mm) 'Sandhopper' wheel. The wheel has a 1 inch (25mm) hub and axle, so the pipes had to be a bit bigger to allow the axle to fit inside them.

The drop-down wheel hanging
from the supporting beam

Side view of drop-down wheel


Drop-down wheel in position - engaged angle does away with
the need for fixings to keep it in place

The punt sits on a cross-bar above the wheel
(will have foam tube fitted to protect the hull).
Also minimises loads on the the supporting beam.


Sunday, 31 July 2016

Progress on Wharf Rebuild

I'm happy to report that the rebuilding of Shefford's Wharf is going really well.

I was a bit concerned that it would be rebuilt with the bright red bricks that I saw, but these have been been used only for the inner skins (three layers of brick, infilled with concrete) of the wall.

The facing bricks are much closer to the original than I had dared to hope for, and the quality of the bricklaying (a long curve, leaning back, so a seriously compound bit of curvature) is spot-on.

Also, zoom in on the brickwork, and you'll see that they've laid them in alternate face-on and end-on courses (I presume the end-on courses are used to tie the face to the layer behind - as per the original Wharf's wall).

I doubt they're reading this blog, but thanks to the guys who are doing this vitally important work - a unique part of Shefford's history is being repaired to 'heritage standard'. Lots of concrete behind the scenes to make it withstand the pressure and erosion of the river, but faced with some really beautifully laid brickwork, totally in keeping with the original structure.

Couldn't ask for more, thanks!

Feast your eyes on some seriously skilled brickwork:

The long, gentle curve of our Wharf nearing completion,
in just one week!
Another little thing I've noticed is the small piece of the original wall left in place at the far right - 'originality checkpoint'?

They've managed to save a small section (far right)
to show what the original wall looked like

Wonderful curves combine with a purposeful
lean-back to show that true craftsmanship
is being used to restore our precious Wharf.
The Ivel Navigation (true of many canals) was dogged with a lack of proper maintenance. Riverside masonry like our wharf needs constant attention, and it needs to be good enough to do it's job properly. Restoration of this quality and originality is a real and refreshing blessing to our community now, and well into the future.

And I guess the people living in the beautiful apartments whose foundations are supported by this wall are breathing a big sigh of relief right now as well...

Sunday, 24 July 2016

About The West Mersea Duck Punt

Some links to the (successfully built) duck punt community to help the uninitiated to understand why this is such cool boat:

  1. Dylan Winter - taking his one-week-to-build duck punt from Wells to Blakeney on the north Norfolk coast. Took the darned thing into open sea!! The duck punt has around 1ft/300mm of freeboard, and Dylan's version has no flotation tanks. The cajones of this guy defies belief!!! As always with Dylan, exquisite photography and insightful commentary. Can't stop watching this one... 
  2. I Love My Punt - cool video of the West Mersea gang's punts being enjoyed, backed by a rather fine Ed Shearan sound track
Beyond that, just go to You Tube and search for 'Duck Punt' - you'll quickly get the picture. Promise.

Rebuilding Shefford Wharf

Shefford's Wharf, the last visible remains of the Ivel Navigation in Shefford is being rebuilt.

130 years after the canal was abandoned, the Wharf has finally deteriorated to the point that it needs some major work doing to it. The first photo below is one that I took back in February, and clearly shows serious deterioration of the Wharf wall, with sawn-off tree stumps sticking out of it, and large areas of missing grout. (Click on the image to see what a bad state the wall was in).

Let's hope that the rebuilding will be done sympathetically - the civil engineering firm doing the work appear to have retained the distinctive dark grey curved edge capping bricks at least.

Shefford Wharf @ February 2016

Wharf under reconstruction, July 2016

Saturday, 23 July 2016

Wet Lay-up Pictorial (Mast Thwart)

I've previously mentioned this technique in some detail, but if you're like me, a few pictures get the message across much better than words, so here goes a run-through of the most recent job - fitting the mast thwart.

Mast thwart frames dry fitted
The screw holes in the edges of the frames need to be centred to avoid splitting the ply, and VERY IMPORTANT THIS: countersink them - makes it a doddle to get the screws in the right place when you're doing the final lay-up/assembly wearing gloves, everything covered in thick sticky epoxy, and fighting the resin's 'curing window'. 

The wonky thwart frame on the left, and the voids in the plywood edges indicate the very poor quality of the 12mm plywood I'm using for the frames (should be 15mm, but my supplier didn't have any). Needless to say, the price I paid did not reflect the poor quality...

OK, enough of the moaning; it's gotta get built, right?

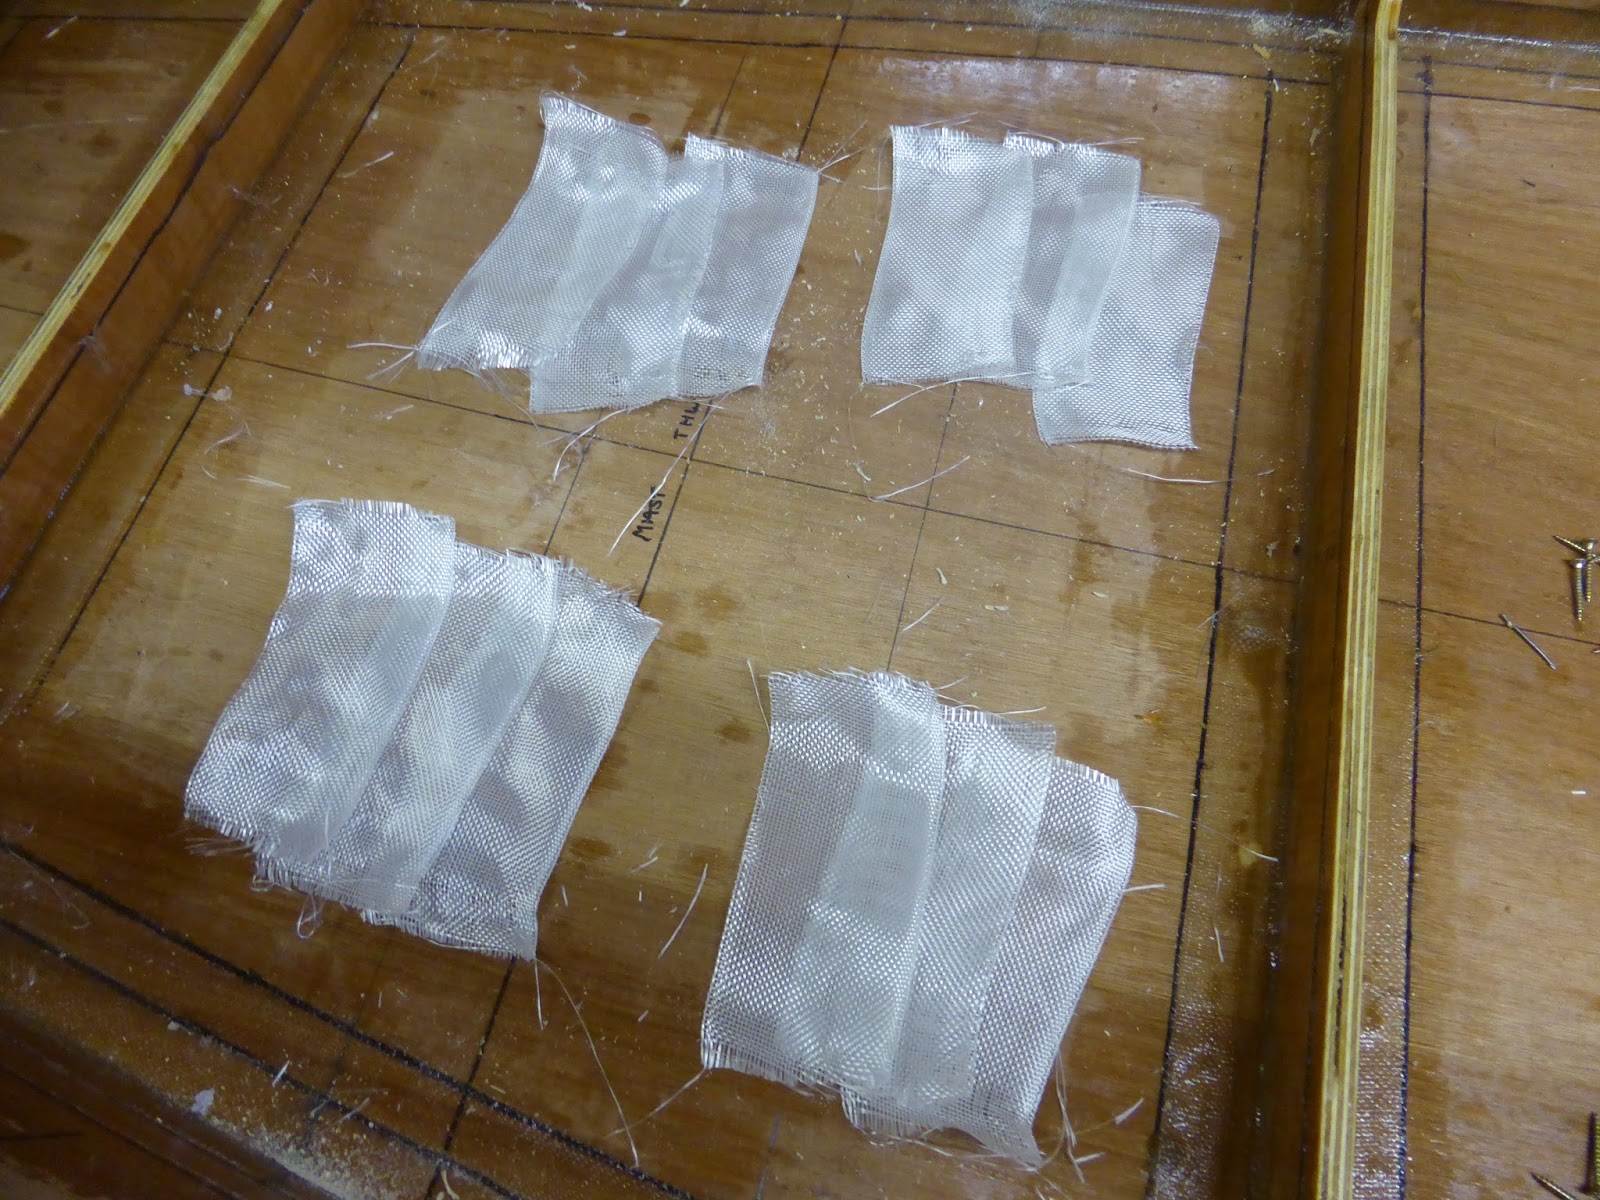
Strips of glass tape cut ready
 So, one strip of glass tape goes behind each thwart frame edge (against the sides), then one goes each side of each thwart frame edge, over the epoxy fillets. 12 strips in total. At this point I'm well into my second 50 metre roll of glass tape!
Thwart frames and seat (with alignment cleats glued on)
ready for epoxy priming
 Because of the crazy twists in the 12mm ply, I decided to orientate them so that they bent towards each other. By fitting some thin cleats 12mm in from each edge of the seat, the seat would be held firmly in place, and straighten up the thwart frames at the same time. It would have worked perfectly if the bends in the plywood only went in one direction...
Thwart frames and seat primed on all edges and faces
(that's why you need gloves!)


Glass tape applied to side panels

Next a strip of glass tape was epoxied in place on the side panels behind each of the four thwart frame mounting points - I've done the same with all frames attached to the sides and bottom of the punt as reinforcement/load spreading.

Then thickened epoxy was spread on the (primed) ends of the thwart frames, and each one was positioned and screwed in place (by hand - power driving is too brutal, and I don't want epoxy all over my nice cordless drill handle/trigger).

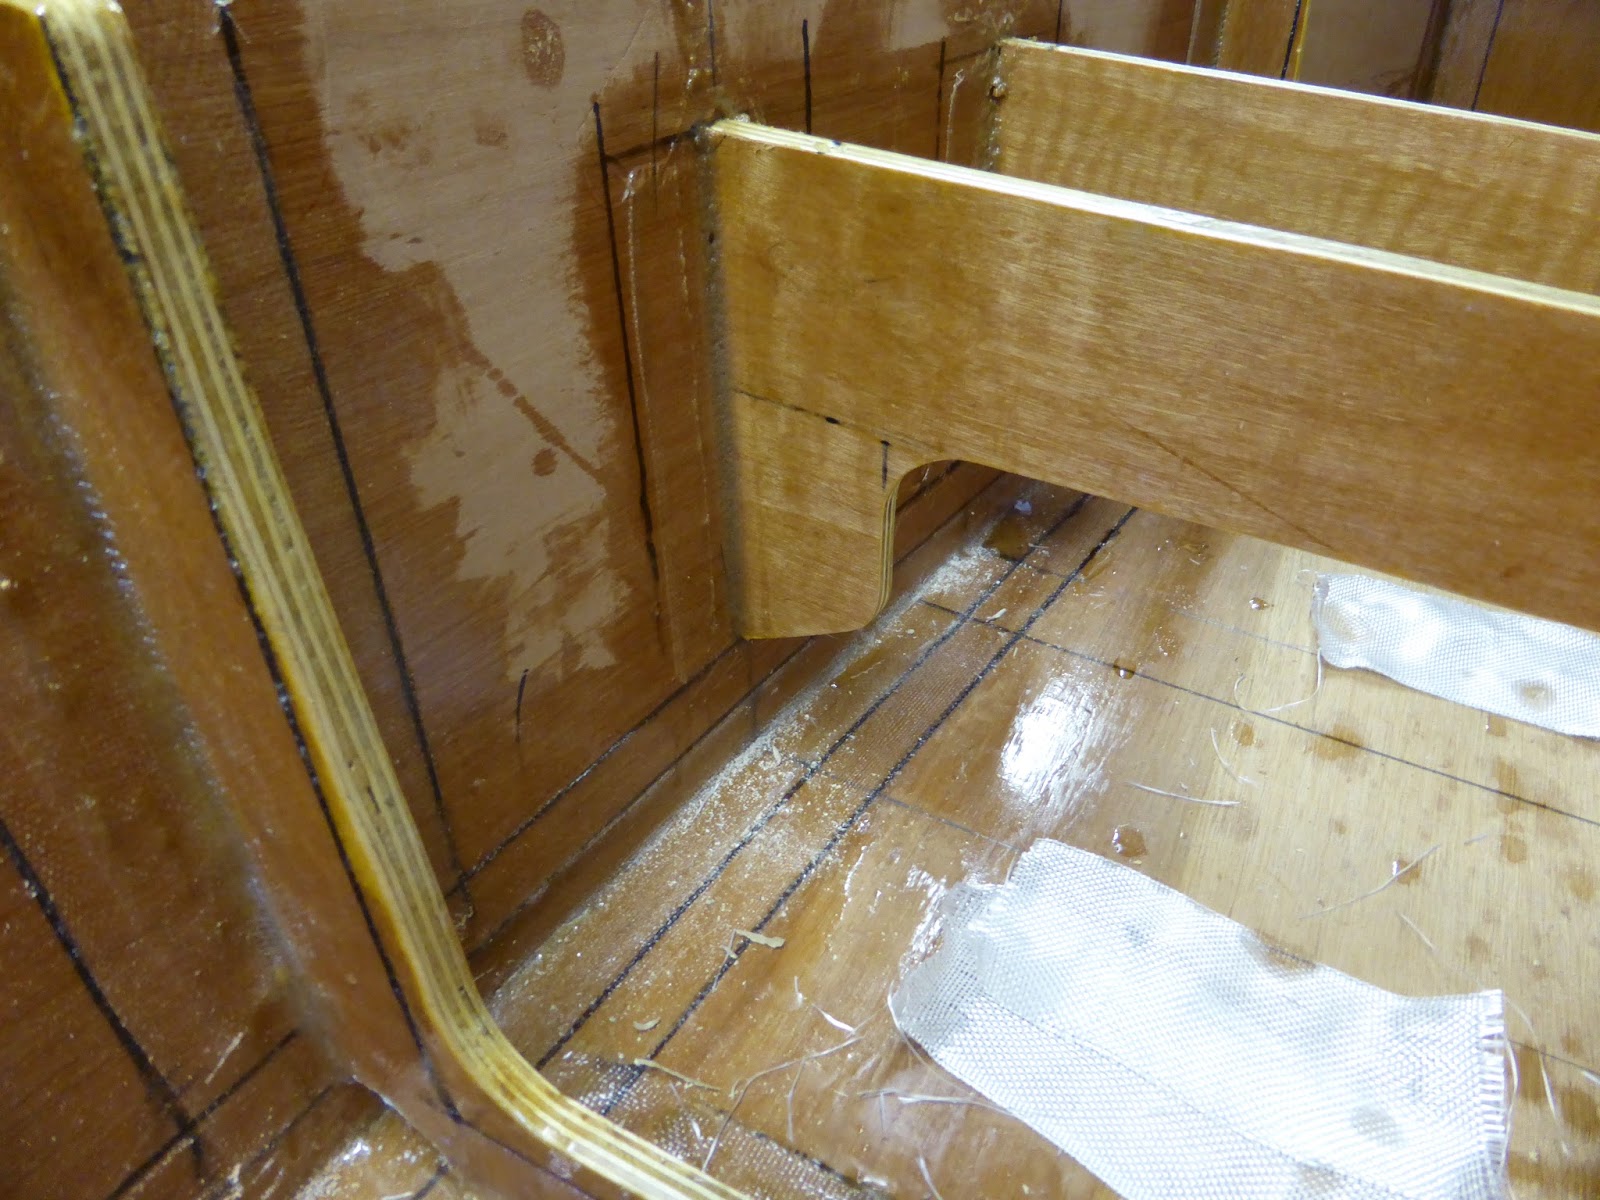
Thwart frames in place over glass tape

Thickened epoxy fillets were then spread along front and back edges of each joint - easy without the seat in place.

Glass tape epoxied over fillets

Glass tape was then epoxied over each fillet (both sides), and spare resin used, as always, to seal any bare plywood nearby.

Mast thwart seat epoxied in place (thickened epoxy)
Nearly there - I spread thickened epoxy along the underside edges of the seat and popped it in place. Finally, a fillet of thickened epoxy was run along the ends of the seat where it joins the sides.

Time to fire up the barbecue and crack open a beer or several methinks...

Frames

Next job was to mark out and cut the frames.

Then fit them of course!

I first dry fitted them, held in place with screws through the sides and bottom, then using a simple jig (an offcut of plywood with a hole drilled in it for the sharpie to poke through) marked the lines for the reinforcing tape.

I used a wet lay-up again:
  1. Prime the plywood sides and bottom, plus the mating surfaces of the frames with unthickened epoxy
  2. Lay glass tape reinforcement strips on the sides and bottom
  3. Apply thickened epoxy to mating surfaces of frames
  4. Insert frames and hold in place with screws
  5. Apply thickened epoxy fillets using rounded wooden sticks (from choc-ices) to get a reasonably neat curve
  6. Lay glass tapes over the fillets on both sides of each frame
It took me 5 hours to fit 3 frames, so the main frames took a whole weekend to fit.

The state of build as at mid July 2016


This was followed by fitting the (optional) outer top planks, scavenged from the aborted side panel scarfing exercise I mentioned earlier - the resin had by now hardened enough. I fitted these to restore a fair edge to the topsides which had developed a distinct scalloping effect after the main frames were bonded in, despite my gaffer-tape trick.. I struggled to get measurements for the curve on the bottom edge of these panels until I spotted (on John Milgate's plans) that the curve runs parallel with the bottom of the punt, so I clamped the ludicrously long and bendy panels to the topsides and scribed the line with another simple offcut jig.

The half frames and bulkheads came next (another weekend), followed by the rear seat rails, transom and transom cap, bow and stern blocks (yep, another weekend), and most recently the mast thwart (and yet another weekend).

Mast thwart and step dry fitted
Mast thwart fitted and first sealing coat of resin applied

Together At Last!

Confession time: my first attempt at scarfing the side panels had to be aborted (didn't read the instructions for the resin and hardener dispenser pumps and ended up with non-setting toffee instead of thickened epoxy).

Another sheet of 6mm plywood was ordered, lofted, cut, and scarf jointed.

The two long and impossibly bendy panels were then taped together and lightly trimmed with a hand plane along the edges to fair them up and ensure that they were symmetrical. 

The bottom panel went better (scarfing) and was cut and edge planed very carefully so as not to mess up it's symmetry.

All mating edges were lightly bevelled, and after making  temporary bow and stern blocks, plus a temporary transom, it was time for the first trial fit!

The sides were screwed to the bow and stern blocks, then stood onto the bottom panel and gently opened up to check that they fitted. A couple of whiskers needed shaving off with the plane, but apart from that, they fitted really well.

The design I'm using is 'stitch and tape', but I wanted to be able to run an uninterrupted bead of epoxy fillet topped with two overlapping layers of 75mm glass tape along the whole length of the punt to get a really strong joint.

So instead of stitching the panels with wires which would have got in the way, I used strips of (3M) parcel tape on the outside edges. To my amazement it worked really well. The tape is easily strong enough to hold everything together and pulled the panel edges together for a really nice tight fit. Seriously chuffed!

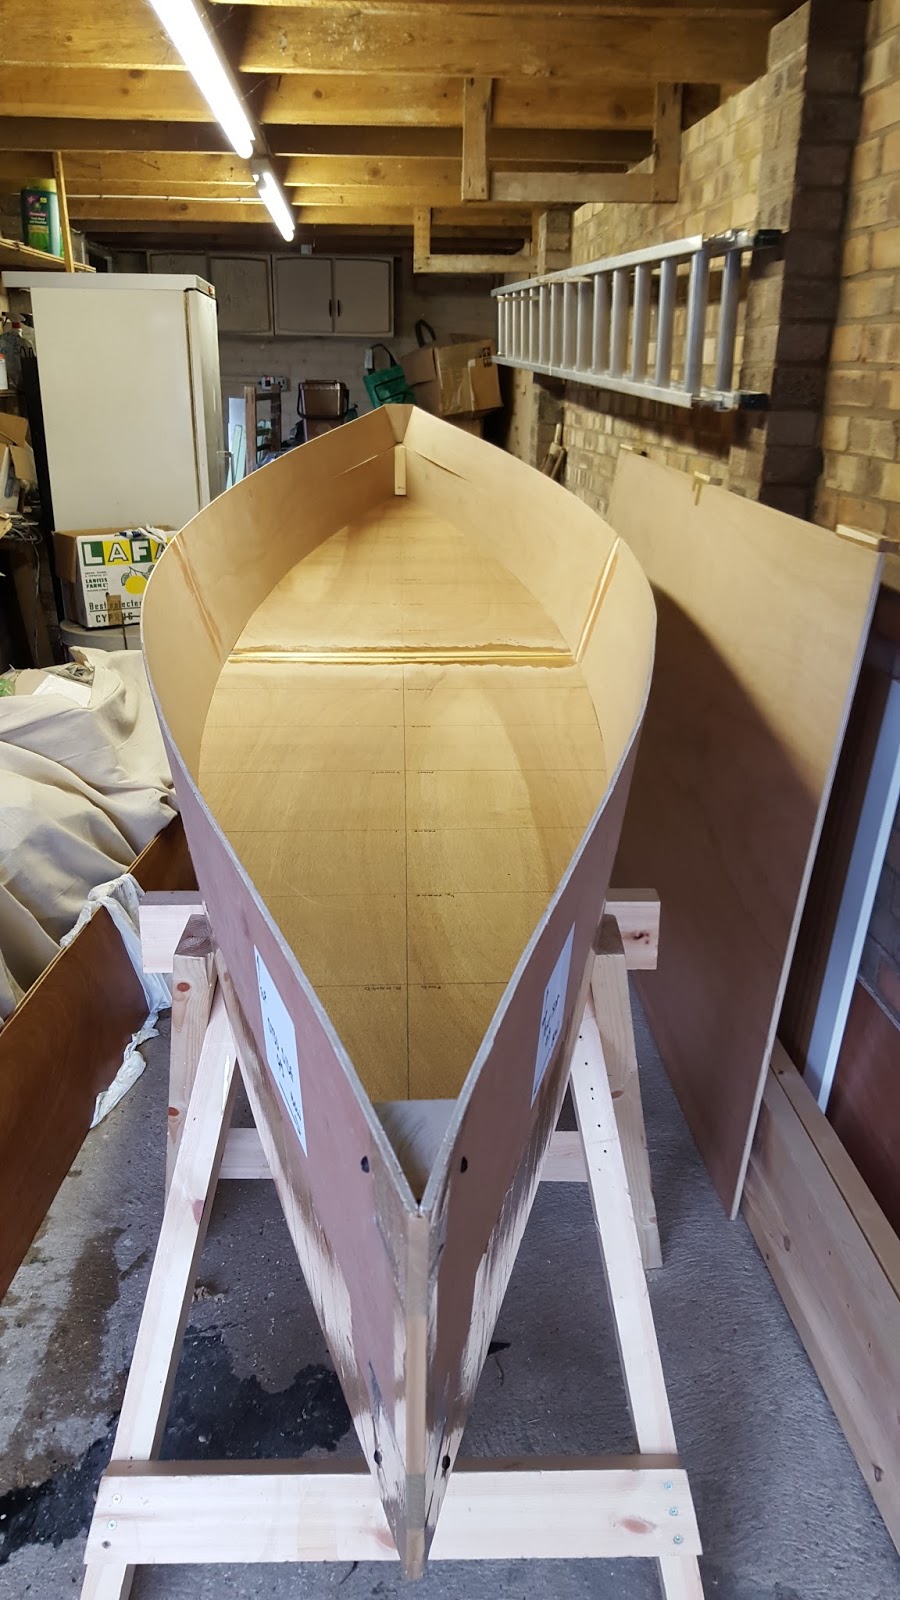
Anyway, the punt was finally looking like a boat, though far too curvy without the inner frames. I can see why boats are referred to as 'She' with curves like that!


View from stern - parcel tape and a few screws holding it all together
View from the bow - not quite so sexy from this angle
Before applying the epoxy and tape, I stretched gaffer tape across the top edges at the frame positions, making each one the same width as the corresponding frame's top width measurements. I didn't want to 'set' those exaggerated curves into the hull, only to have to pull them in when fitting the frames - the leverage could possibly damage the seam joints, or even crack the very fragile ply.

Curing time when building with epoxy resin really adds to the build time, so where possible, I am laying-up 'wet' - starting with a layer of unthickened resin (to prime the plywood), then thickened epoxy fillet and glass tape/resin (main seems get two overlapping layers) all in one session.

Certainly saves time, but I've also read that the bonding between the layers is stronger this way. Doing the inside seams this way took me several hours (my first time), so although quicker than waiting for individual layers to cure, you do need a good clear time slot in your day.